Five steps, start to finish
Upload your photo
Edit & enhance
Pick a product & place the frame
Preview the real mockup
Order it for real
From screen to print
Here's the same photo at each stage — upload, edit, and previewed on a real product.
Example — a photo becomes a canvas print

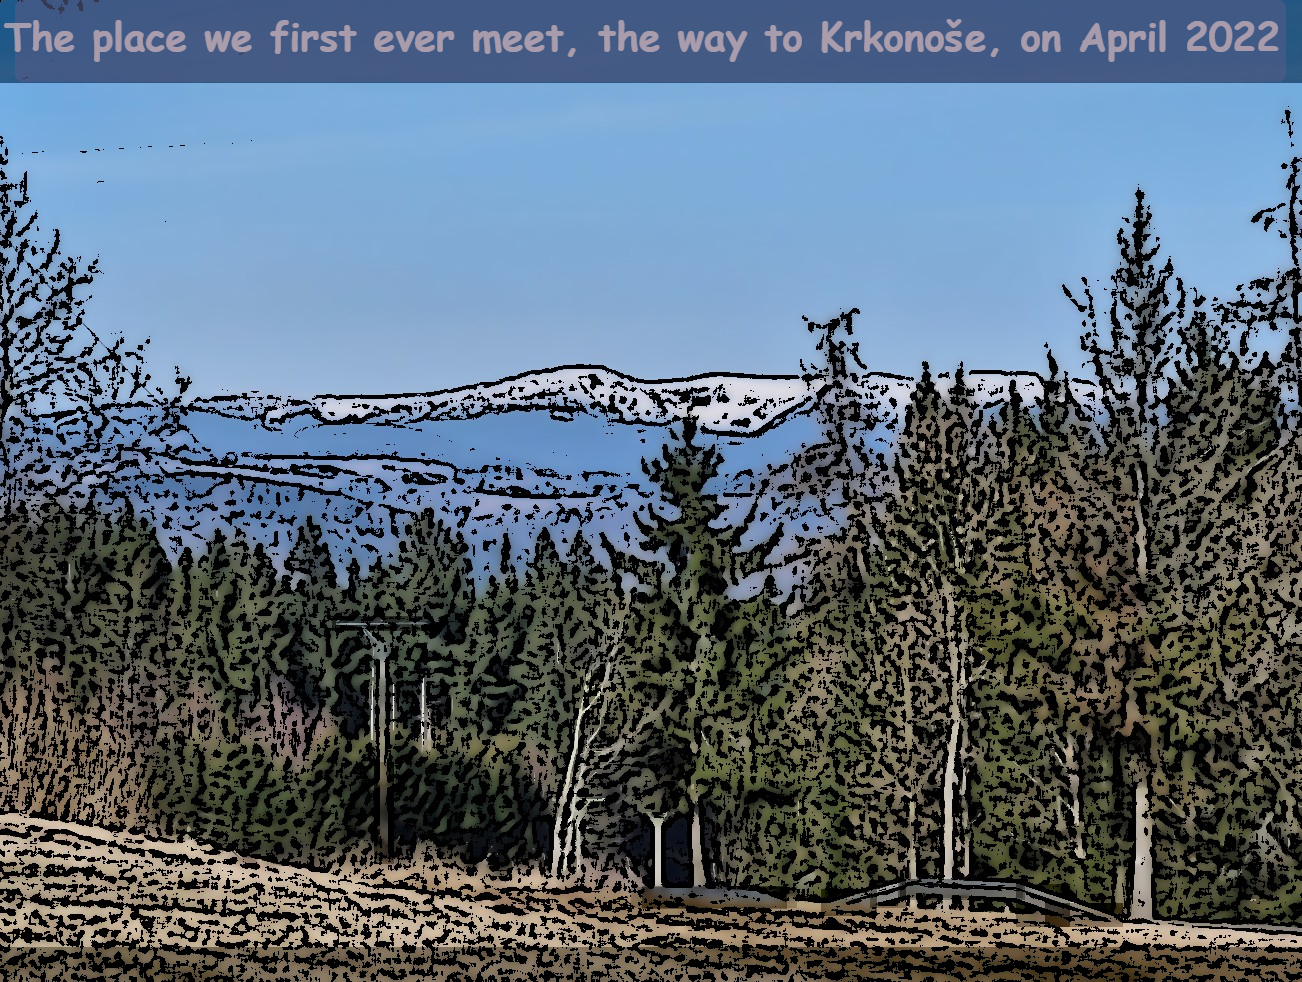
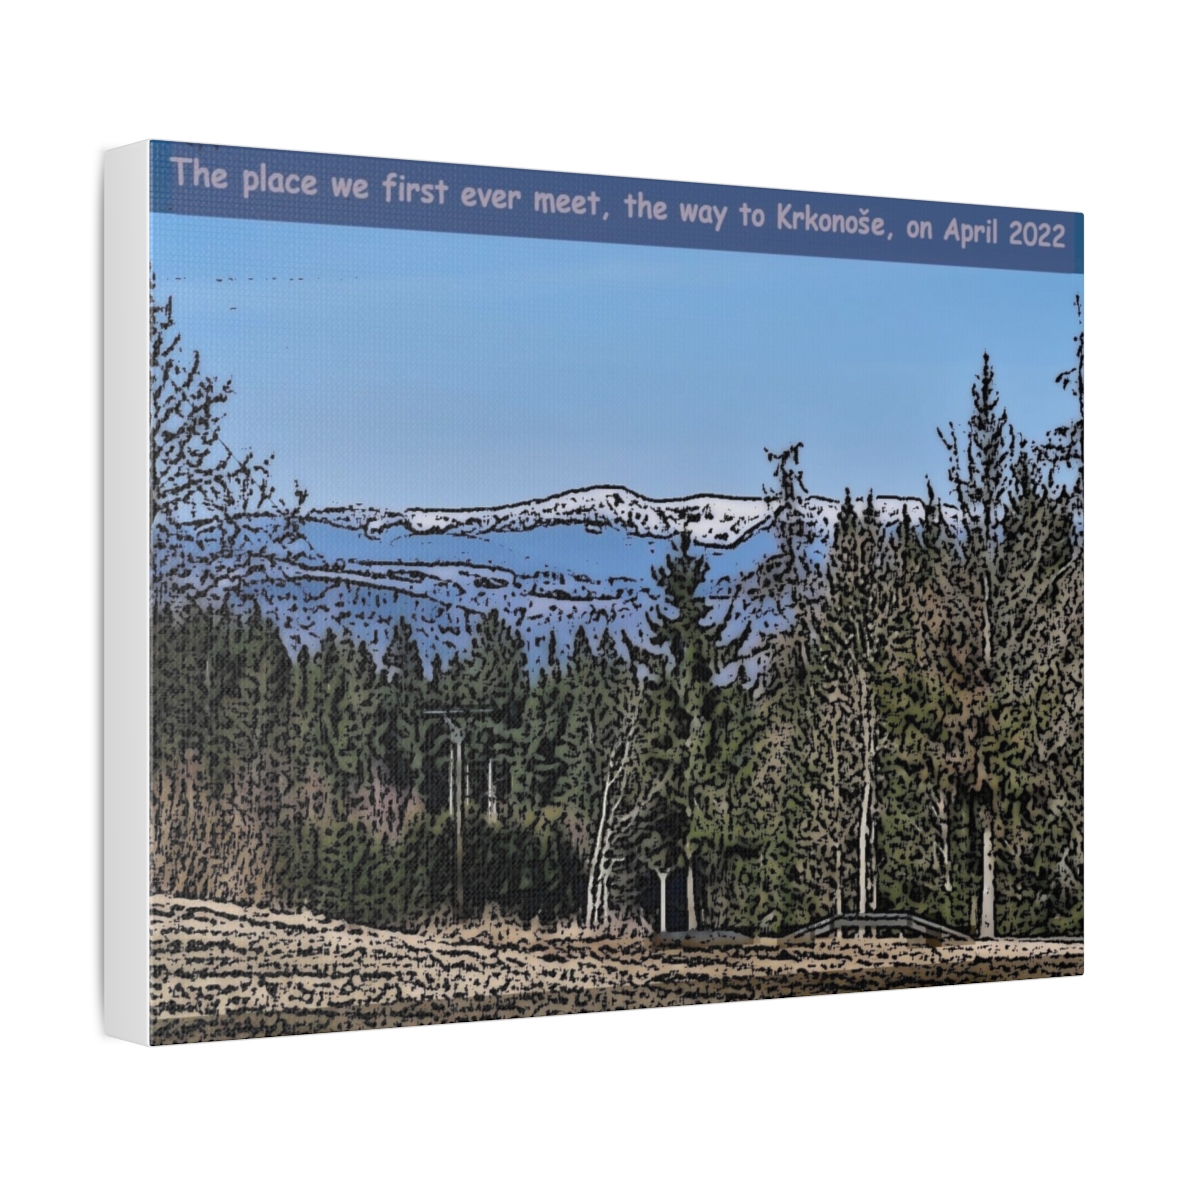
Example — a photo becomes a T-shirt
Example — the same shot on other products
Get the best results
Start with a high-resolution photo
Print quality depends on the source. The larger and sharper your original, the better it looks on canvas or a framed print. Avoid heavily compressed images and screenshots.
Mind the crop for each product
A framed print, a mug and a tee have very different shapes. Use the product frame and the mockup preview so no antlers, wingtips or horizons get cut off.
Wildlife shots love a tight crop
Animals often sit small in the frame. Crop in close on the subject before you print — it reads far better at arm's length on a wall than the full scene does.
Preview before you pay
Every order starts as a free preview. Use it. See how it looks first, then choose Pay here or Buy on store only when you're happy.
Your trip. Your photo. Your print.
That's the whole journey. Upload something you loved seeing, and let it leave the screen.